
THE DATA CLEANING PACK
The messy Word table from the video, plus everything else I use to clean up imported data. Free, instant, yours to keep.
What’s in the pack
Free, instant, and yours to keep.
No spam, ever. Unsubscribe with one click.
One practical Excel tip a week.
Watch the 4-minute video or follow the written steps below. The practice files above contain the same Word table, so you can follow along.
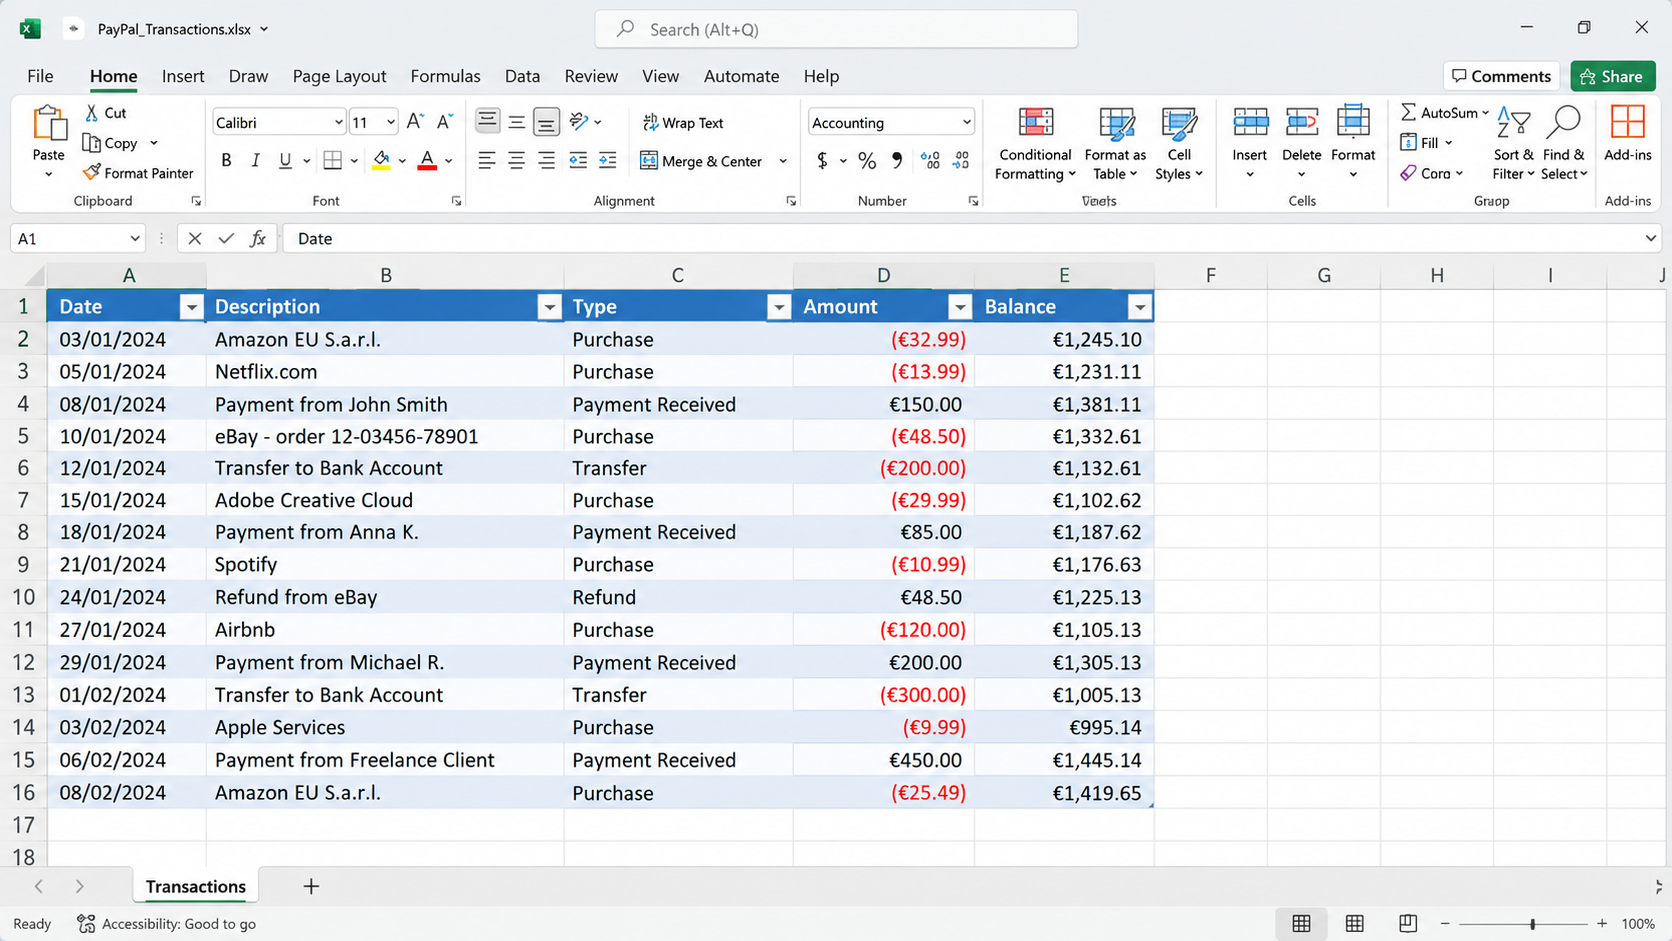
The example is a PayPal statement saved as a Word document. Going through a plain-text file is what lets Excel split the text into proper columns, and you can do it without opening Power Query.
In Word, go to File > Save As > Browse, choose a folder and set Save as type to Plain Text (*.txt). Click Save, keep the default settings in the File Conversion window and click OK. Then close Word.
Microsoft replaced the classic Text Import Wizard with the Get & Transform tools. They’re powerful but complicated for a simple import. The good news is that the old wizard is still there, just well hidden. Go to File > Options > Data, and in the lower section tick From Text (Legacy). You can also restore the other legacy wizards there (Access, web, SQL Server) if you use them. Click OK.
Open a new workbook, go to Data > Get Data > Legacy Wizards > From Text (Legacy). Select the text file you saved and click Import. (In older versions of Excel, this is simply Data > From Text.)
In the wizard, choose Delimited. If the first row of your file holds column headers, tick My data has headers. If it doesn’t, leave it unticked.
Click Next. The preview shows the data separated into columns. The PayPal statement uses tabs, so Tab is the delimiter to tick.
Optionally set a data format for each column, then click Finish, keep cell A1 as the destination and click OK. The Word data is now in cells, ready for totals and other calculations.
YOUR NEXT STEP
The method in this video is perfect for a one-off import. But if you’re cleaning the same report every week — the same stray commas, the same merged cells, the same half-hour — there’s a better answer. Power Query does the whole job once, and from then on you press Refresh.
30-day money-back guarantee, handled by Udemy. No forms, no questions.
★★★★★ Join 80,000+ students
Andreas Exadaktylos · Microsoft-certified Excel instructor · mellontraining.com
WATCHING ON YOUTUBE?
11 step-by-step courses on Excel, Power BI, Python and AI, all on Udemy with lifetime access.