
THE DASHBOARD PACK
Kanban board, habit tracker, KPI report, search bar and more — built, working, ready to take apart. Free, instant, yours to keep.
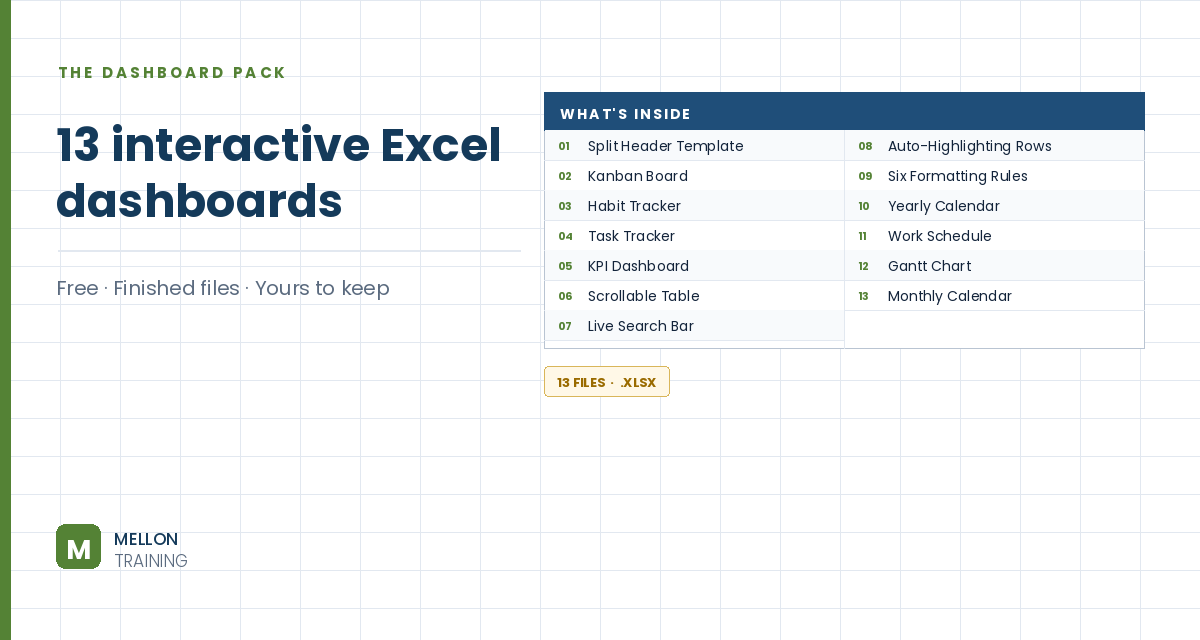
What’s in the pack
Free, instant, and yours to keep.
No spam, ever. Unsubscribe with one click.
One practical Excel tip a week.
Watch the 8-minute video or follow the written steps below.
Excel stores data in cells, so a text file needs a way to mark where one value ends and the next begins. That character is the delimiter. The most common is the comma, which gives you CSV (comma-separated values) files. Financial programs often use tabs instead, because commas already appear inside numbers like $10,000. Those are tab-delimited files.
Go to Data > Get & Transform Data > From File > From Text/CSV and choose your file. The example is a customer list (company name, phone number, address) separated by commas.
Excel examines the file and splits it into columns based on the delimiter it detects. Leave File Origin and Data Type Detection at their defaults unless you’re dealing with unusual data. If the Delimiter was guessed wrong (for example, your file is tab-delimited), pick the right one from the drop-down.
If you see empty columns after loading, check the source file. In the example, an extra comma after a name or phone number creates an empty column.
Sometimes each row still lands in a single column. In that case, import it anyway, select the cells and go to Data > Text to Columns.
Tip: you can always import everything as General and change the formats afterwards in Excel.
YOUR NEXT STEP
Every dashboard in this pack rests on the same three techniques: conditional formatting, data validation and dynamic formulas. Learn those properly and you stop collecting templates — you build whatever the job actually needs.
30-day money-back guarantee, handled by Udemy. No forms, no questions.
★★★★★ Join 80,000+ students
Andreas Exadaktylos · Microsoft-certified Excel instructor · mellontraining.com
WATCHING ON YOUTUBE?
11 step-by-step courses on Excel, Power BI, Python and AI, all on Udemy with lifetime access.