
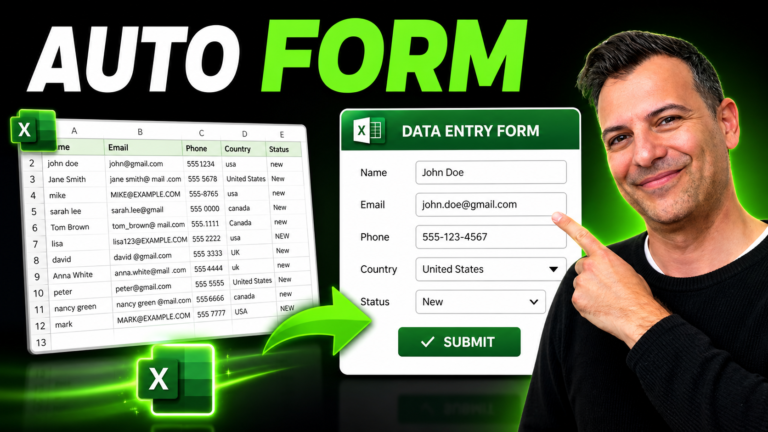
Prefer reading? The main stages are written out below the video.
The example collects new employee details, but the same method works for customers, expenses or any other records.
On a new sheet (rename it Form), type a title such as Employee Information in B2. Add personal details down column B (first name in B4, last name in B6, date of birth in B8, email in B10, gender in B12) and job details down column E (job title in E4, basic salary in E6, payment method in E8, employment type in E10, location in E12).
Full-time,Part-time,Contract as the source.If you don’t see the Developer tab, right-click the ribbon, choose Customize the Ribbon and tick Developer. Then go to Developer > Insert > Option Button (Form Control), place it next to Location and label it Office. Select it and press Ctrl+D to duplicate it, label the copy Remote, and line them up with Shape Format > Align > Align Middle.
To finish the look, turn off gridlines, put a border round the whole form, and set the spacer rows (3, 5, 7, 9, 11 and 13) to 10 pixels high.
Below the form, paste the labels as values from B20 down (B20:B29). Next to each, link to its input cell, for example =C4 in C20 for the first name.
Location needs one extra step. Right-click an option button, choose Format Control and set the cell link to D29. Excel then puts 1 in D29 for Office and 2 for Remote. Turn that number back into text in C29 with =IF(D29=2,"Remote","Office").
Add a sheet called Data. Copy B20:B29, click B2 on the Data sheet and use Paste Special with Values and Transpose ticked, so the labels become column headers. Format the date of birth and salary columns to match the form.
Fill in the form with sample values, then go to Developer > Record Macro and name it Collect. While it records:
Then click Stop Recording. Each new record now lands at the top of the Data sheet.
Go to Developer > Insert > Button (Form Control), draw it under the form, assign the Collect macro and label it Submit. To hide the helper list below the form, set its font colour to white.
Save the file as an Excel Macro-Enabled Workbook (.xlsm) so the macro keeps working. Then select the input cells, open Format Cells > Protection, untick Locked, and protect the sheet from Review > Protect Sheet with a password. People can now type in the inputs but can’t change the rest of the form. Note that sheet protection doesn’t lock form controls such as option buttons.
My Excel Macros & VBA Programming for Beginners course takes you from recorded macros like this one to writing your own VBA, with no prior coding needed.
WATCHING ON YOUTUBE?
11 step-by-step courses on Excel, Power BI, Python and AI, all on Udemy with lifetime access.